1/8 Overview
The purpose of the Curios Creator tools was to give artists and creators a means to list and sell their digital work. This was to be the backbone of the platform and essential for exponential user growth. The tools needed to be immediately simple for artists to start using, but complex enough to allow them flexibility in creating many different types of product listings with every type of media. From expanding upon a design system I created for the front facing sites to working with the engineers on the implementation, we were able to create a very sophisticated tool that received praise for it's ease of use.
A quick demo using the creator tools to create a new project in a little over a minute.
My Roles
- Lead designer
- Product designer
- Design system
- Front end developer
- React overflow
2/8 Problems
We faced two main problems. First, the tool needed to be effortless to start using. Second, due to the way the marketplace product was structured, the user needed to be able to create very complex listings that consisted of multiple media types and bundles which would greatly increase the amount of settings fields required.
3/8 Users & Constraints
Users would consist of musicians, authors, filmmakers and other artists. Some were more organized than others. I needed to design a tool that left as little friction as possible for creators that may not have finished creating their first listing if the process was too overwhelming.
Team size was a constraint. This was a big project but the team only consisted of five people, three actively working on the project. I was the sole product designer and was also able to work on front end development, making the process surprisingly fluid for such a small team.
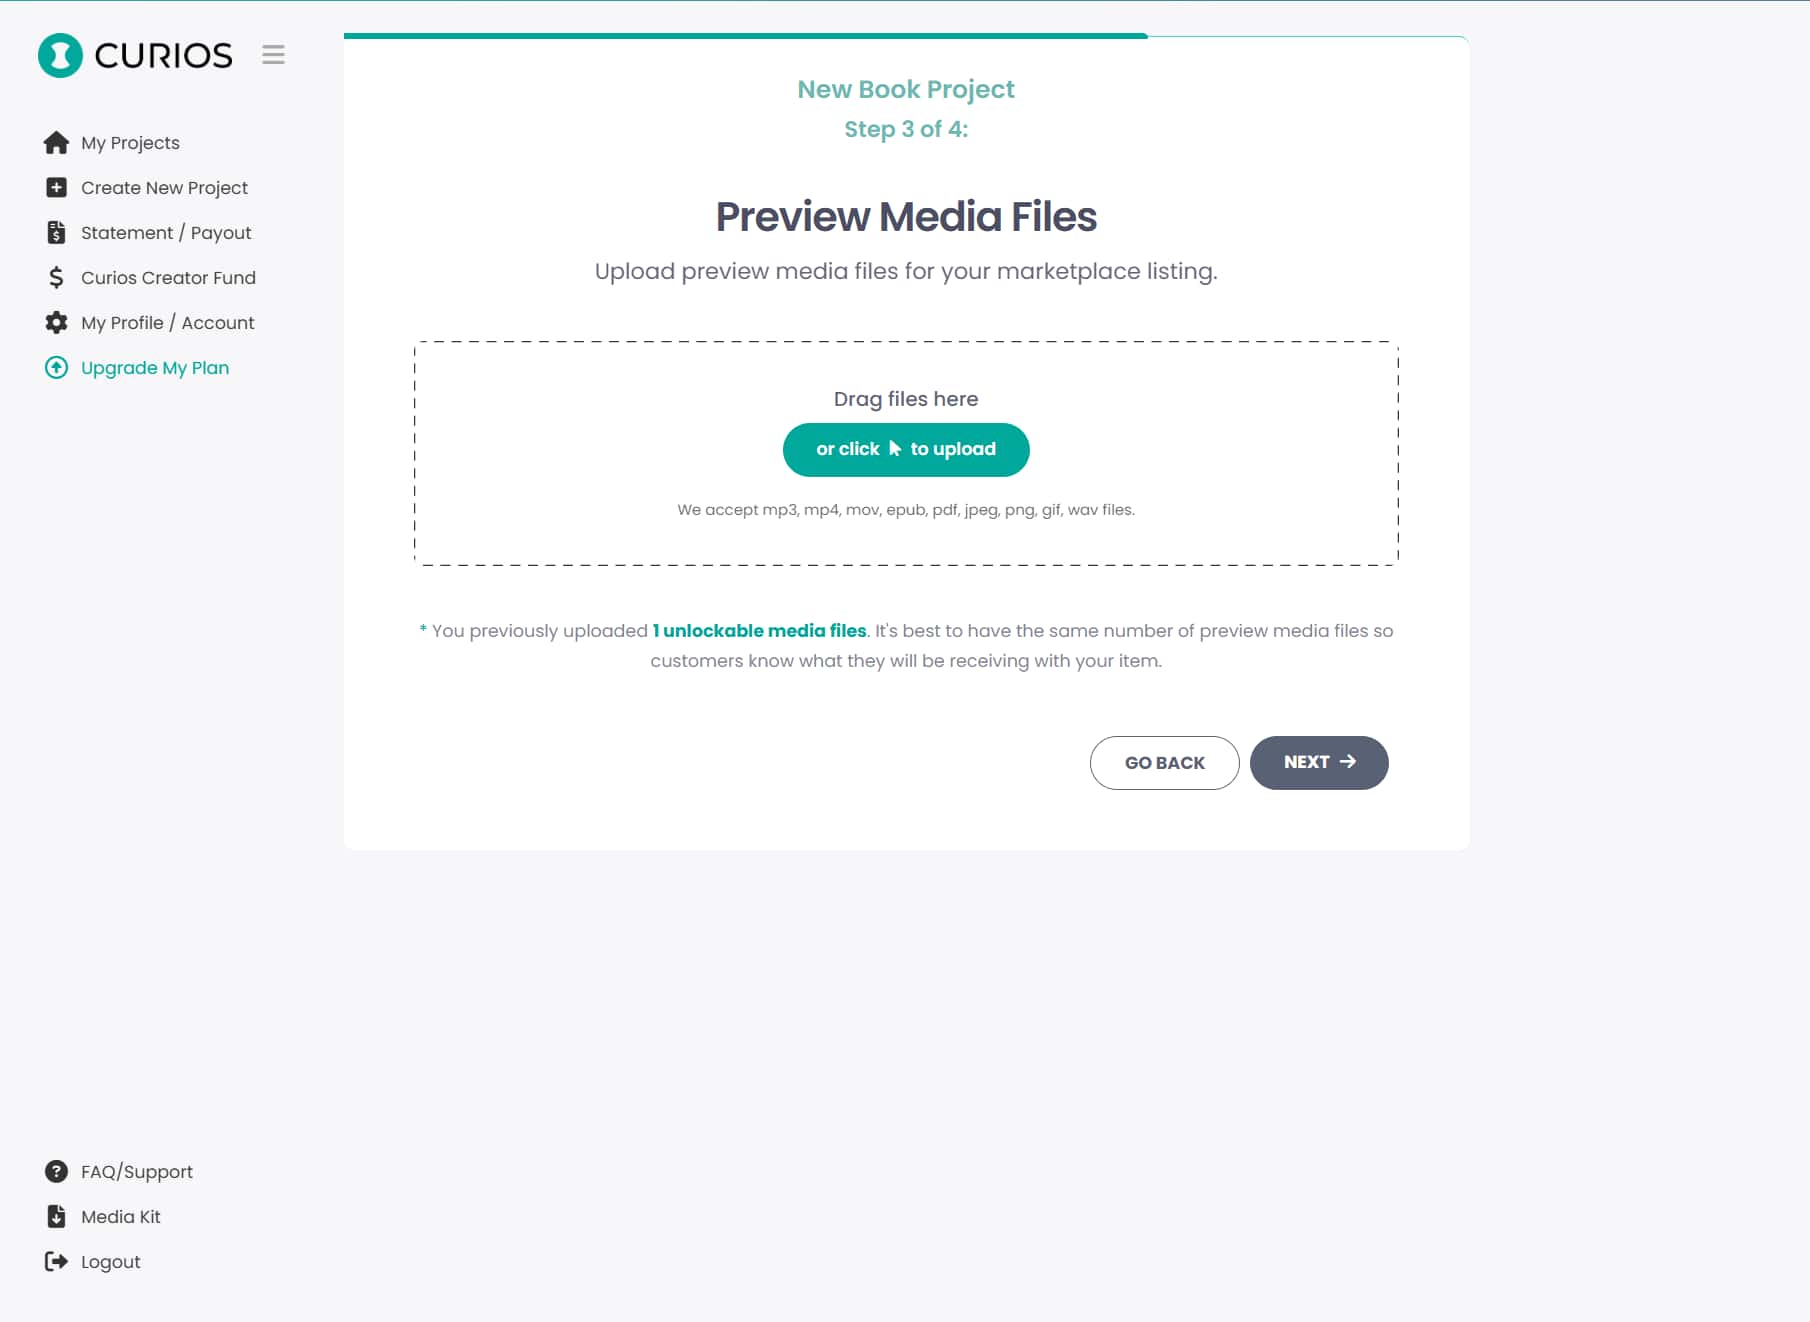
4/8 Workflow Breakdown
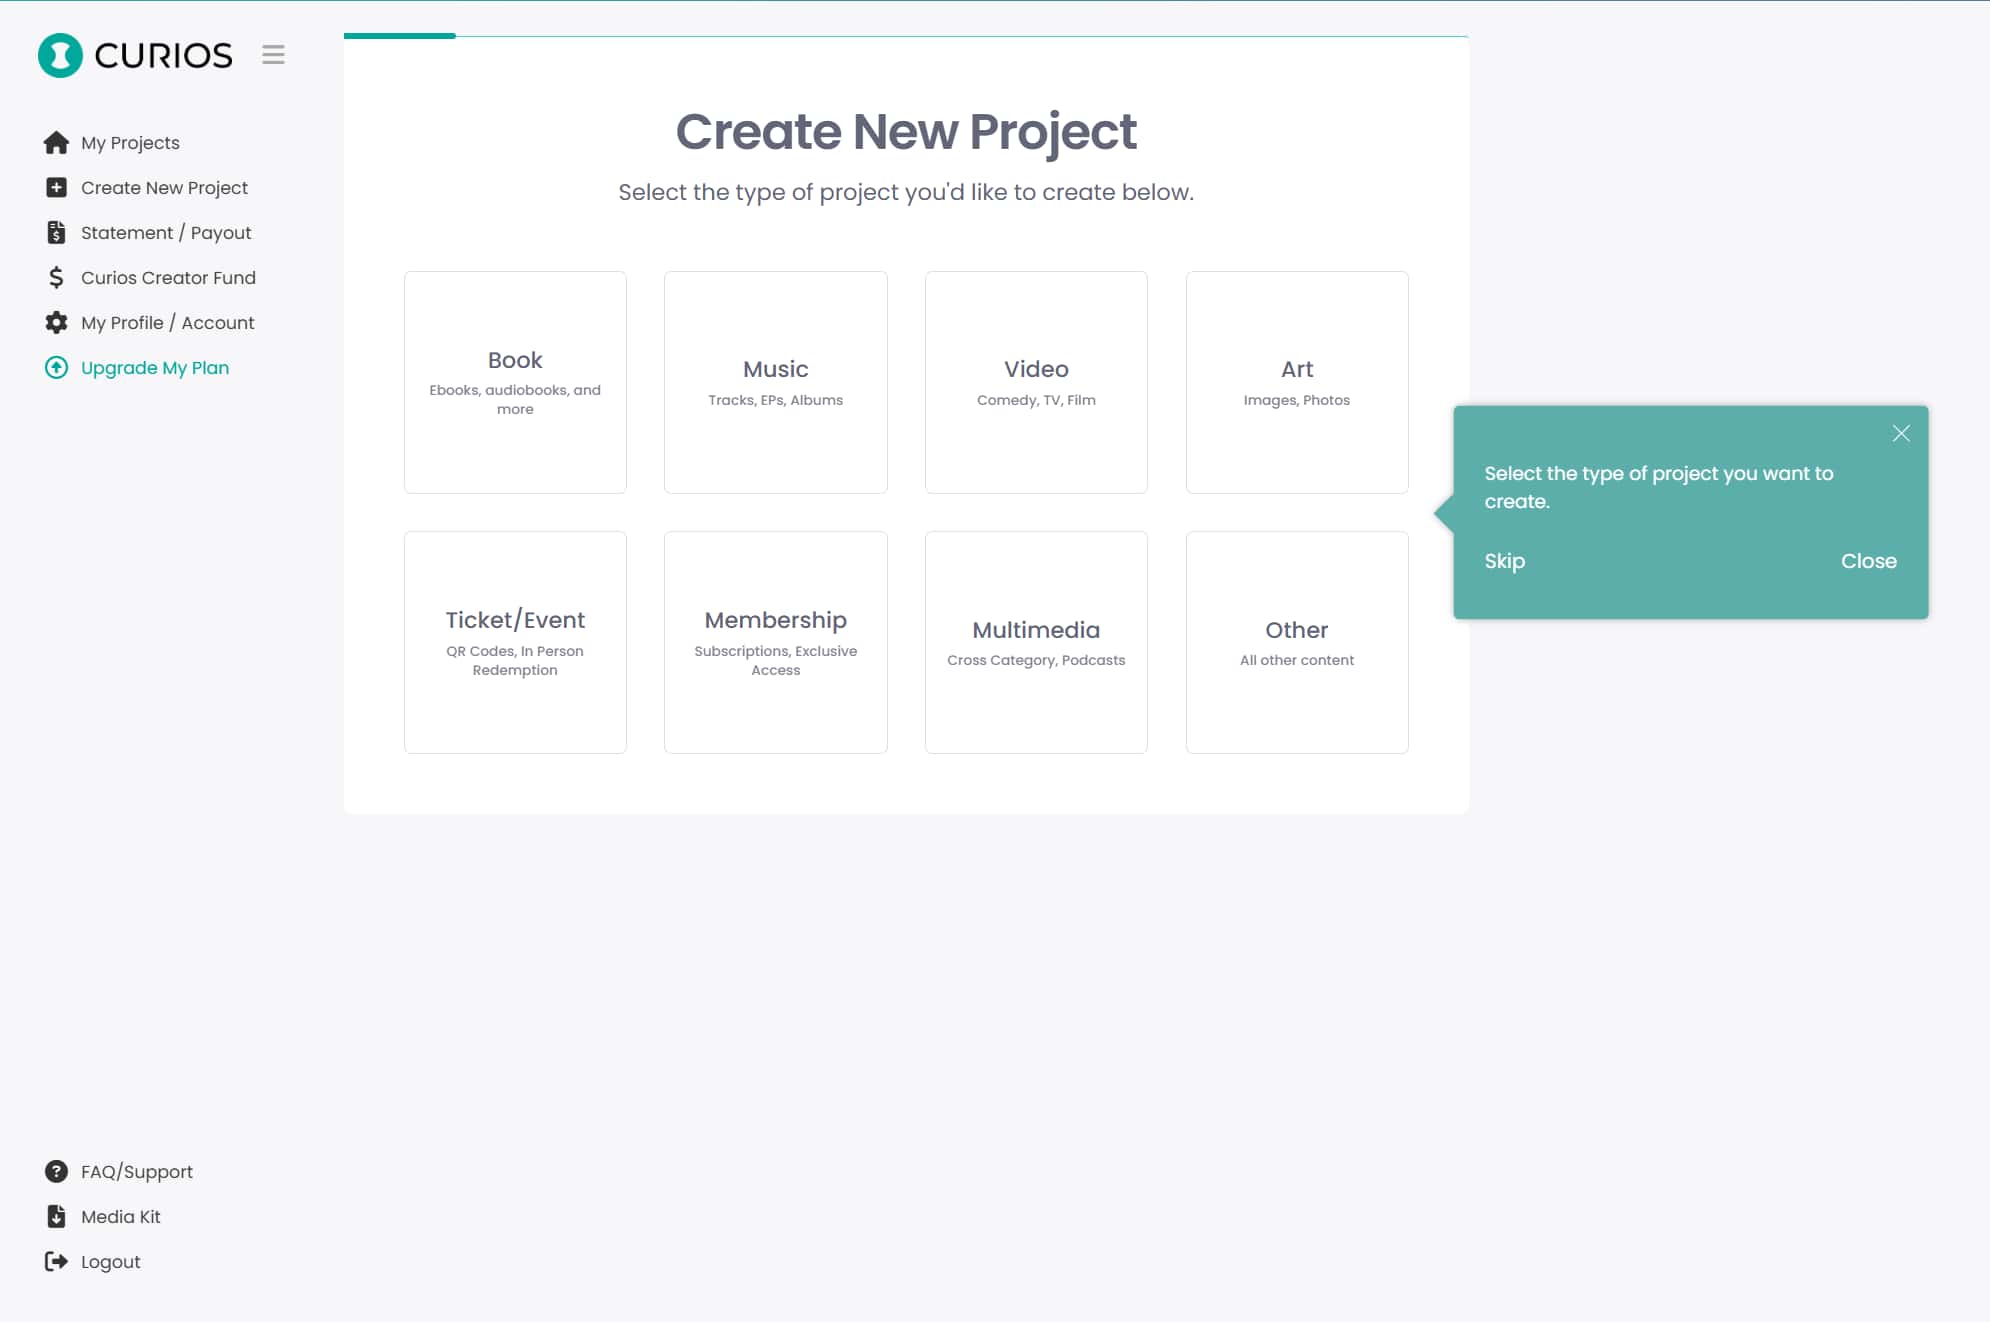
It was important that users, even those that are not tech savvy were able to quickly create a project and listing. To accomplish this, I needed to decide which steps were vital and how to separate them into easily manageable chunks that could be shown on each page of the new project wizard. I broke the experience up into these core steps:
- Create Project
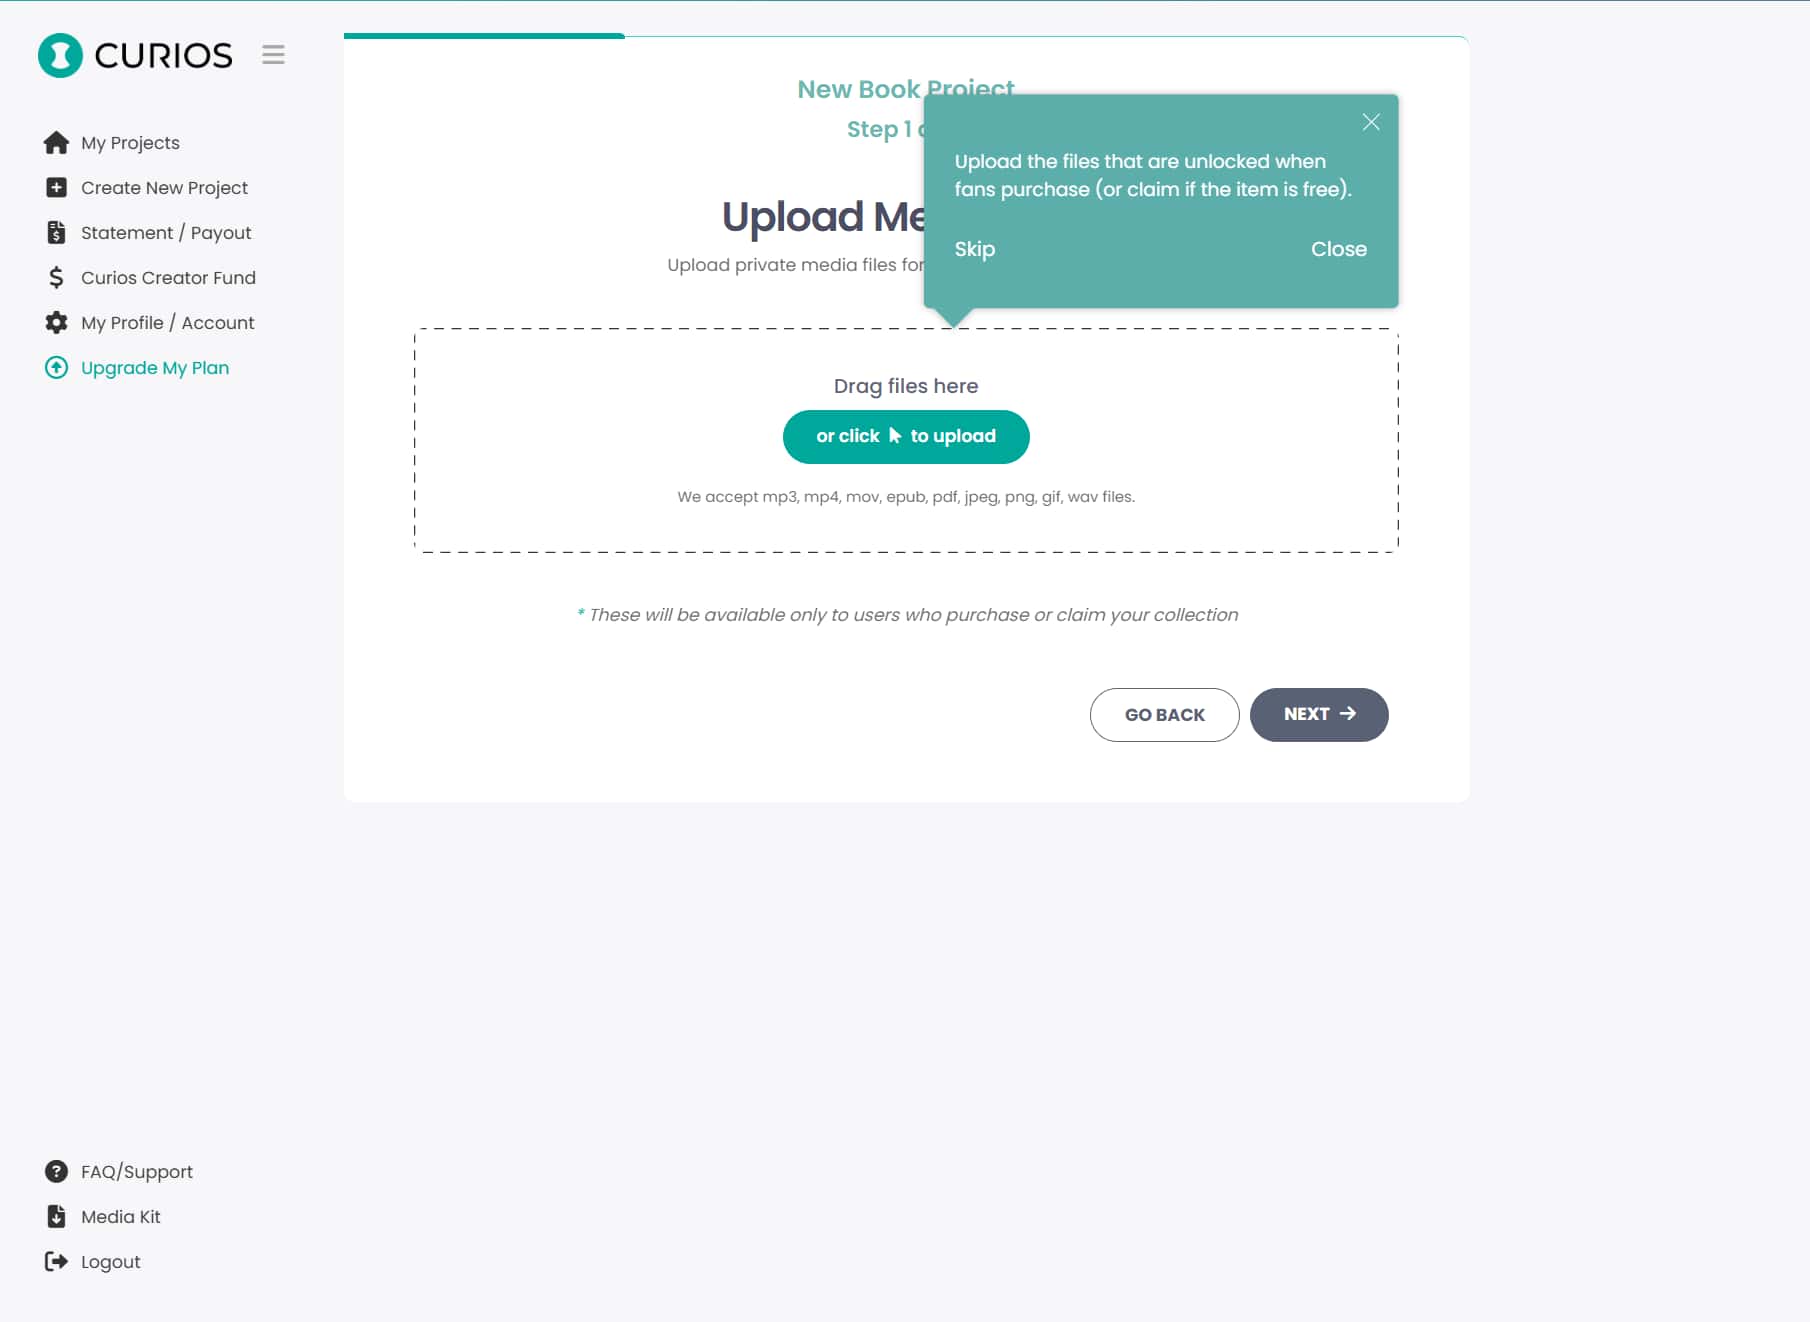
- Upload Assets
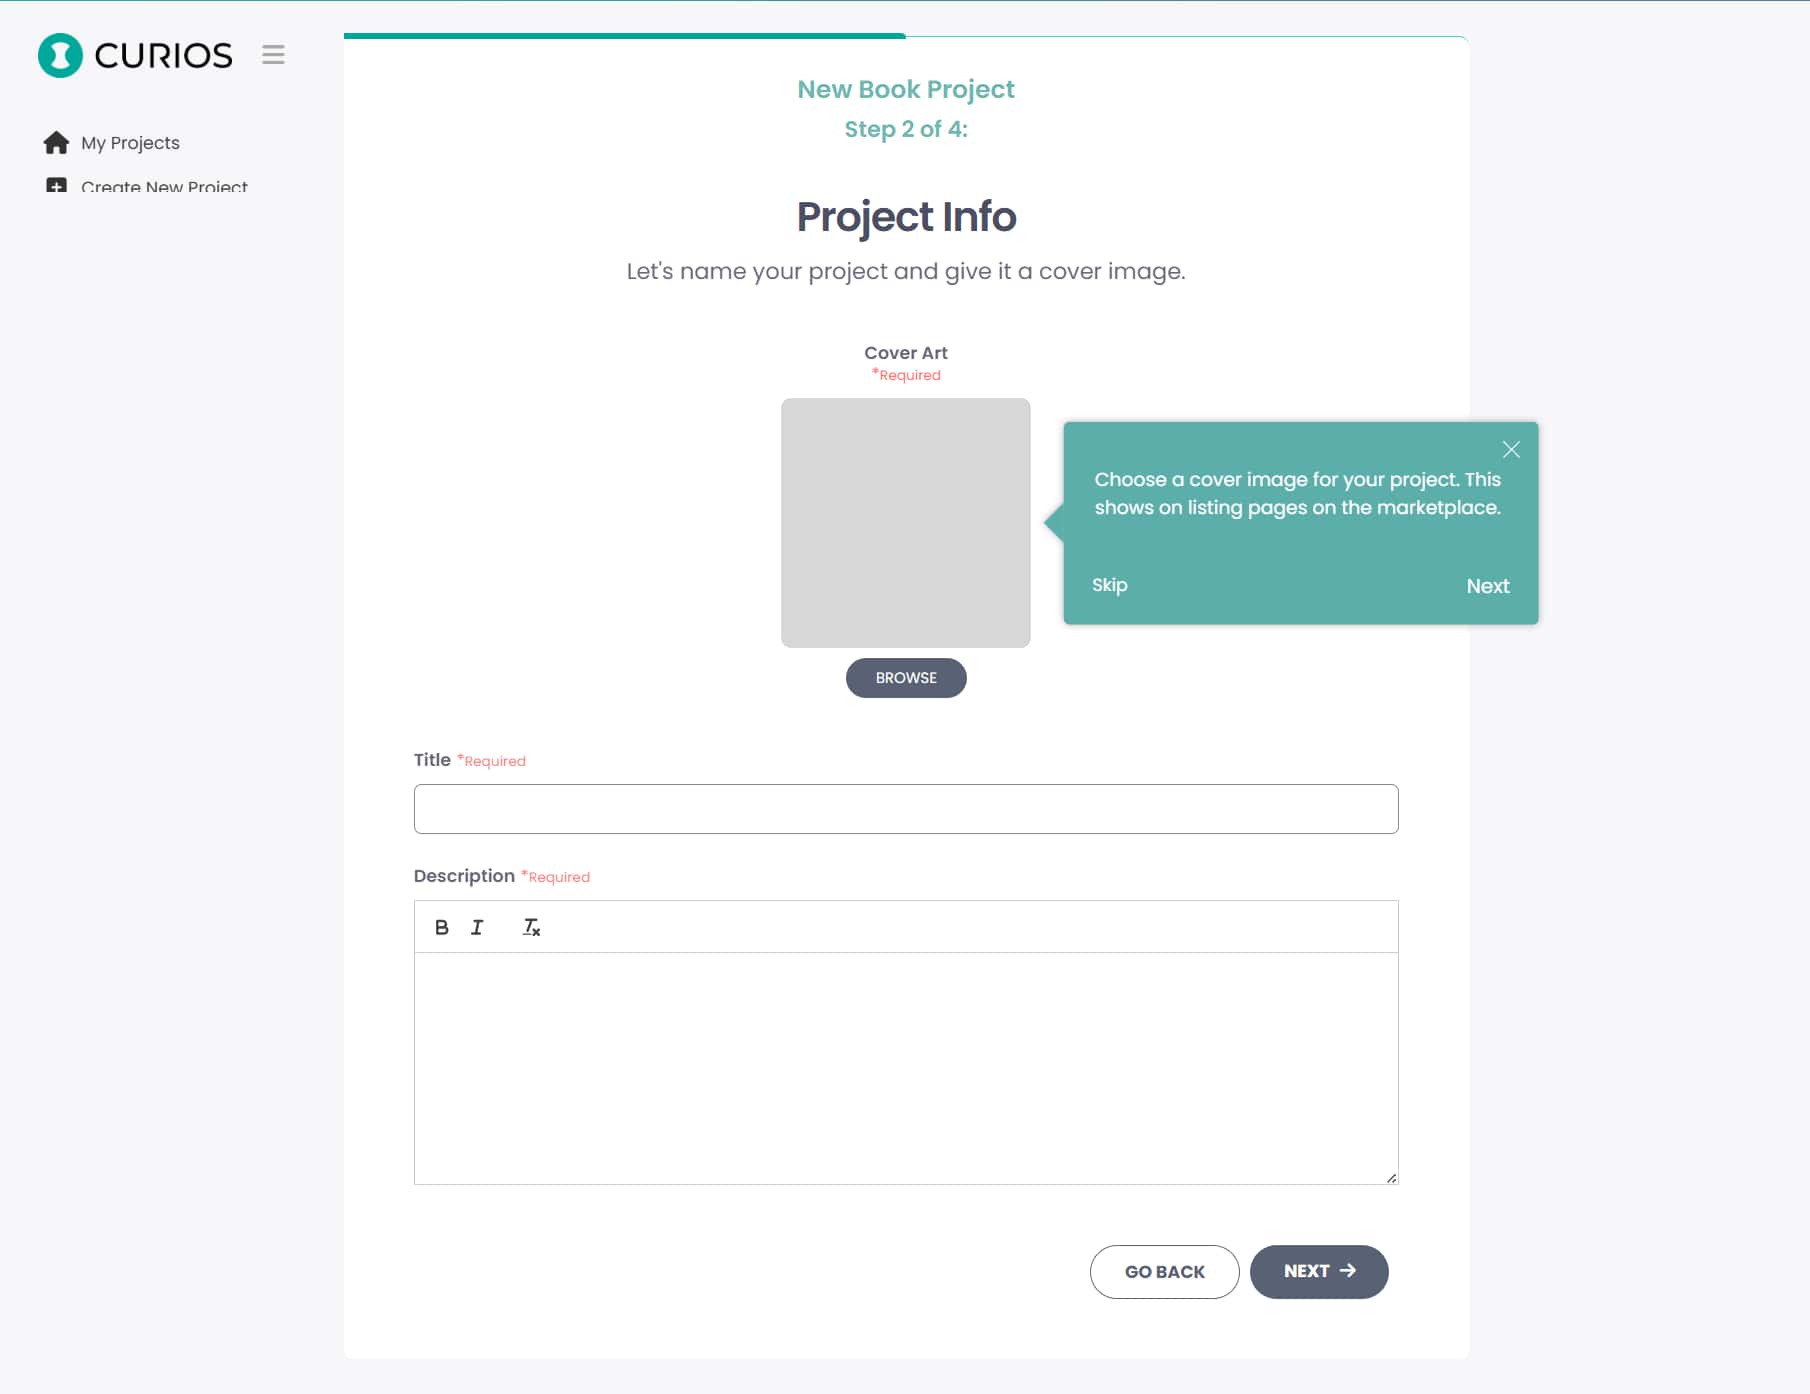
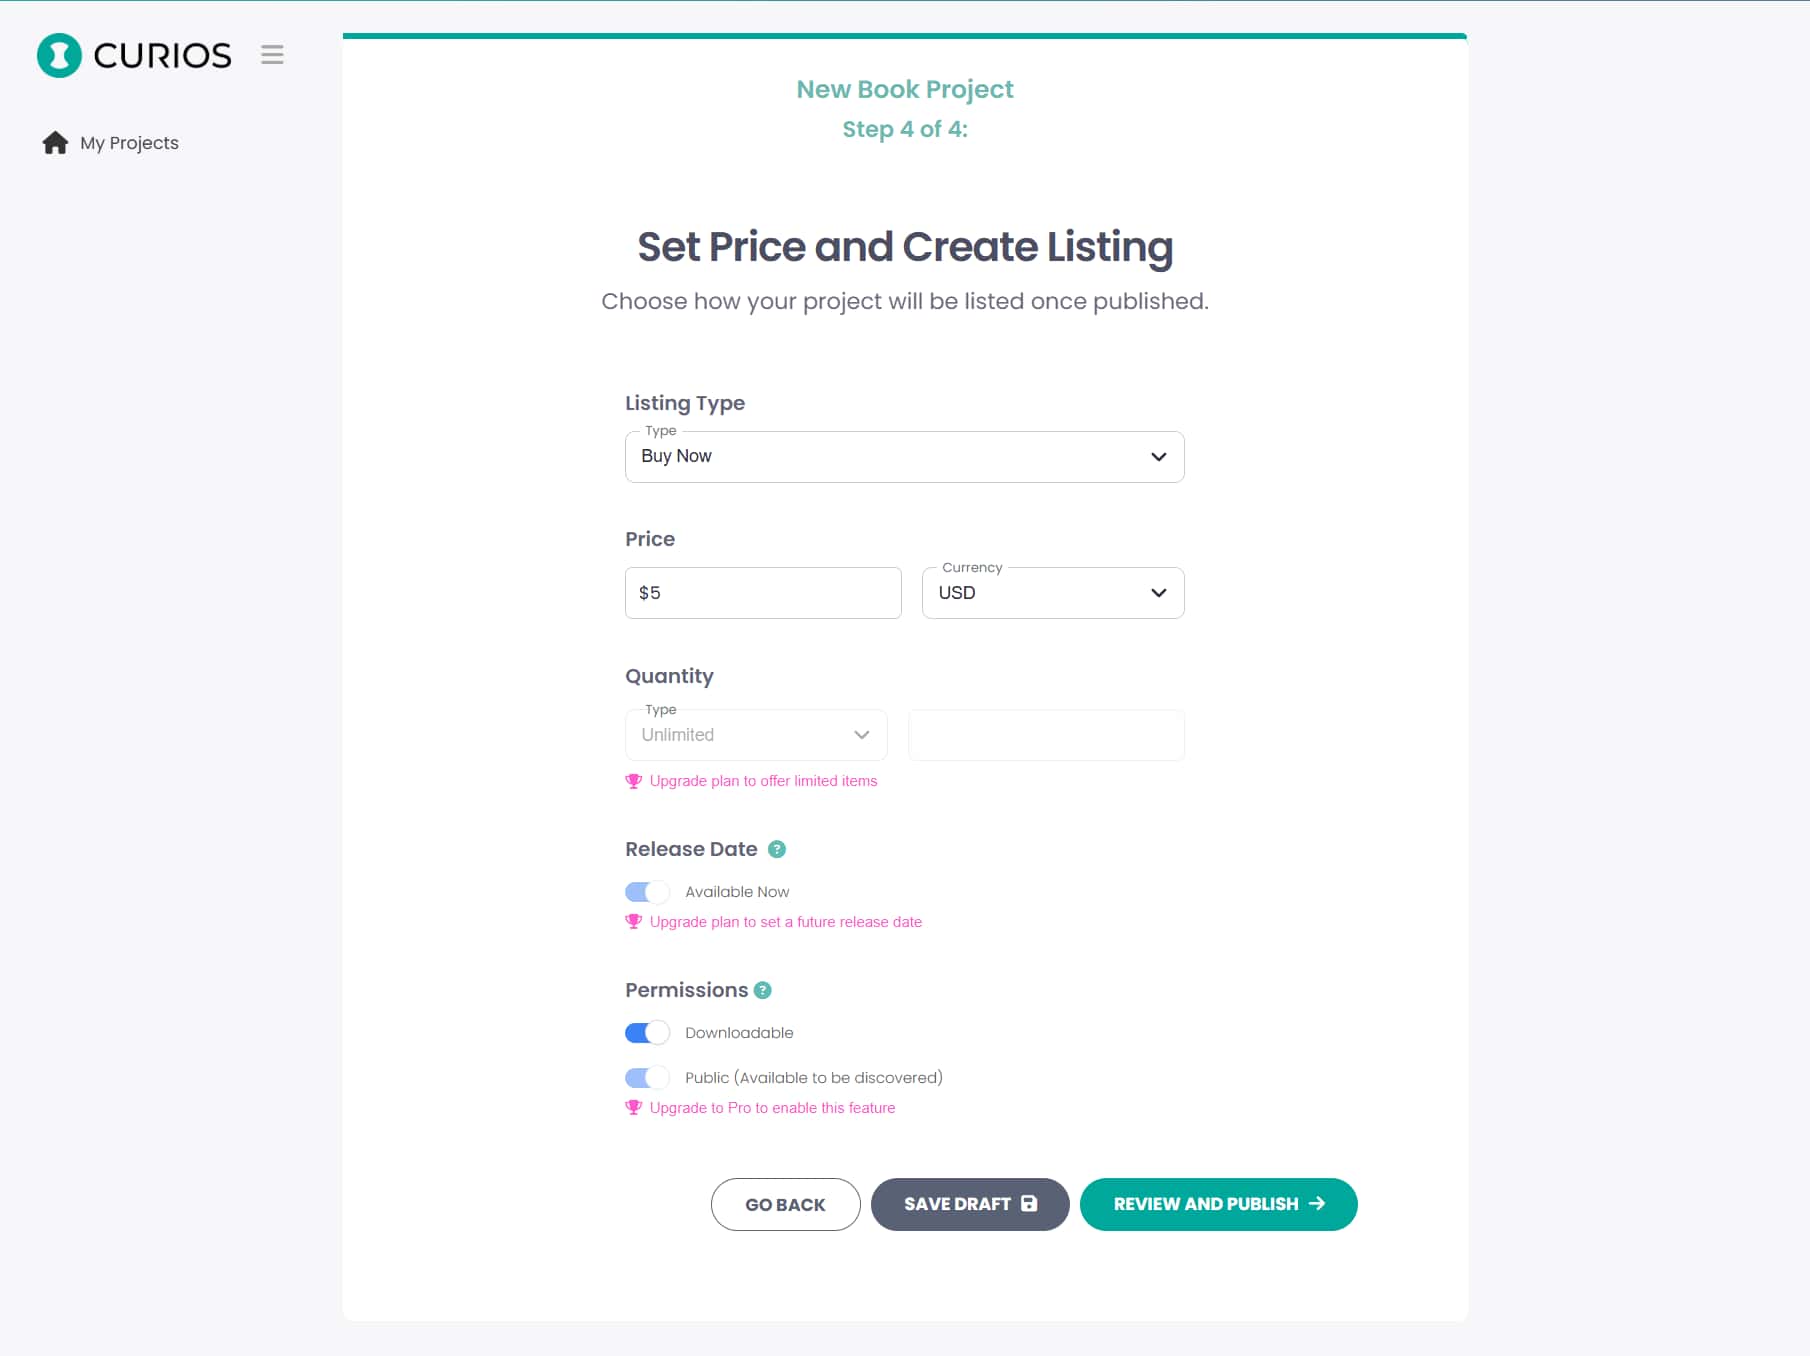
- Configure Listing
- Set Pricing
- Publish
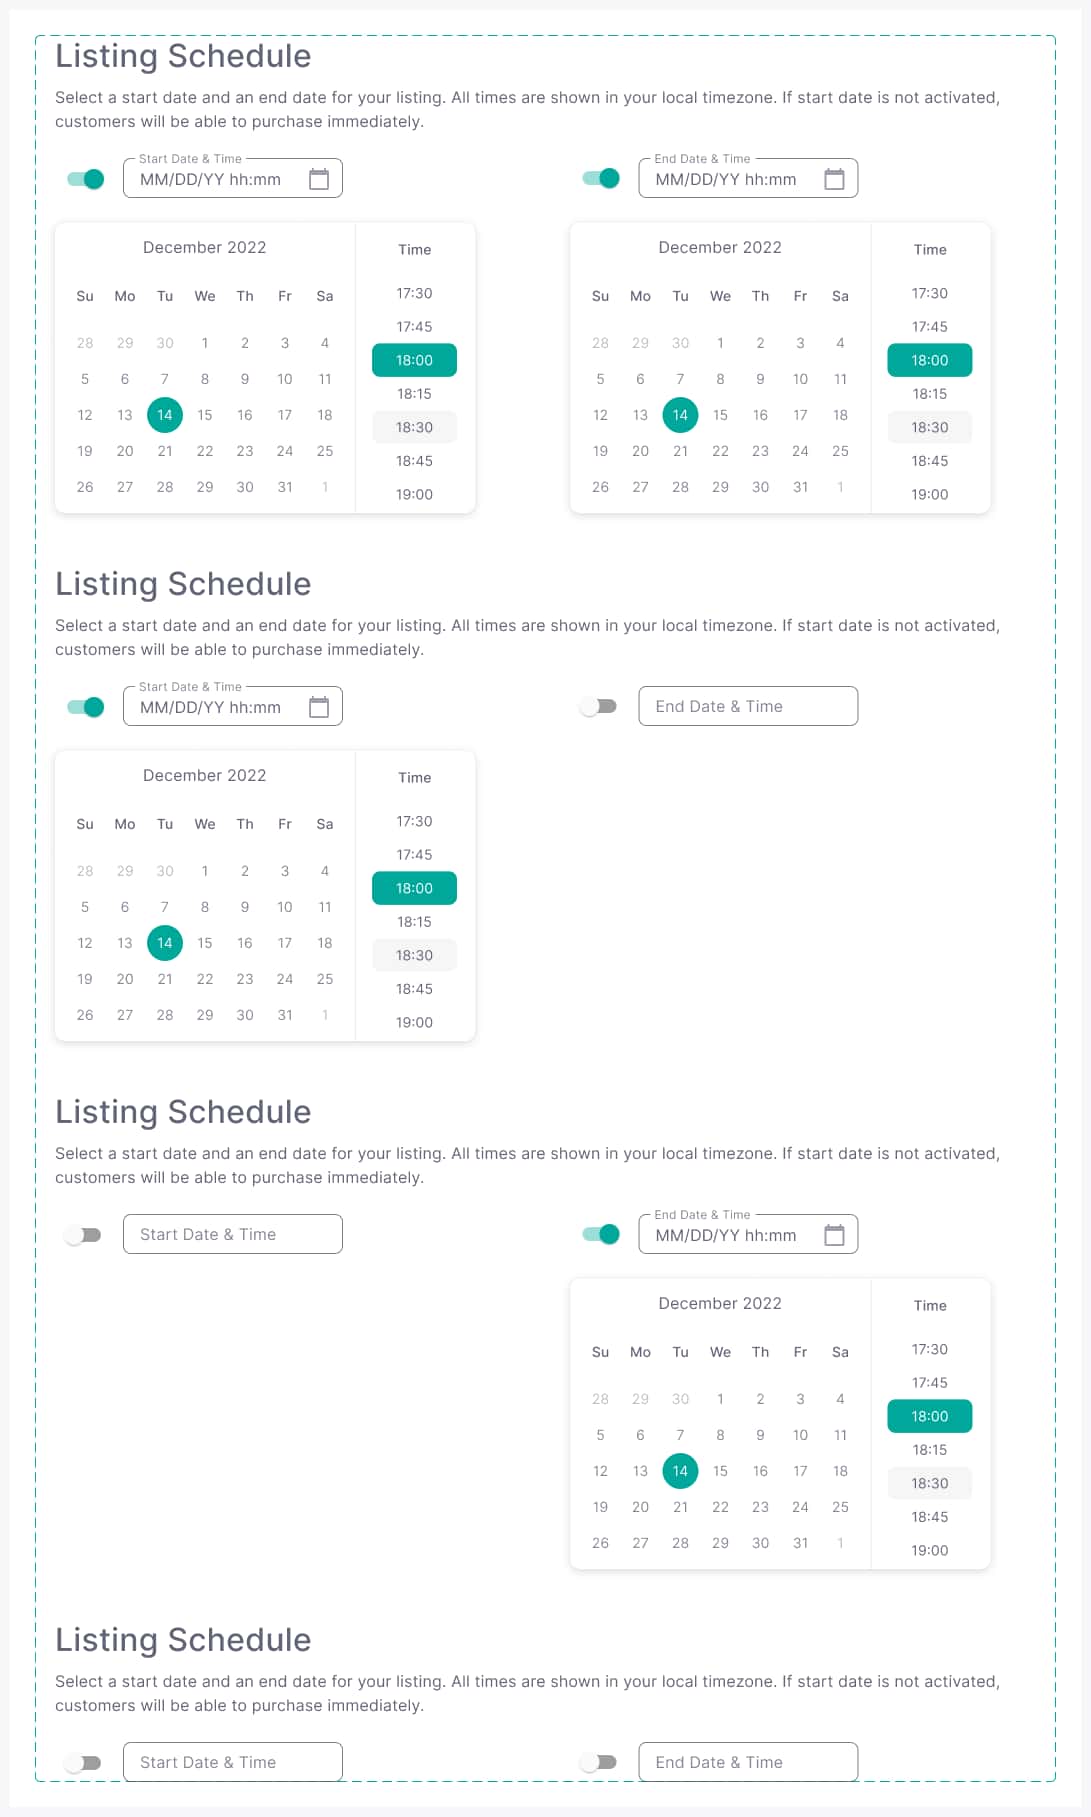
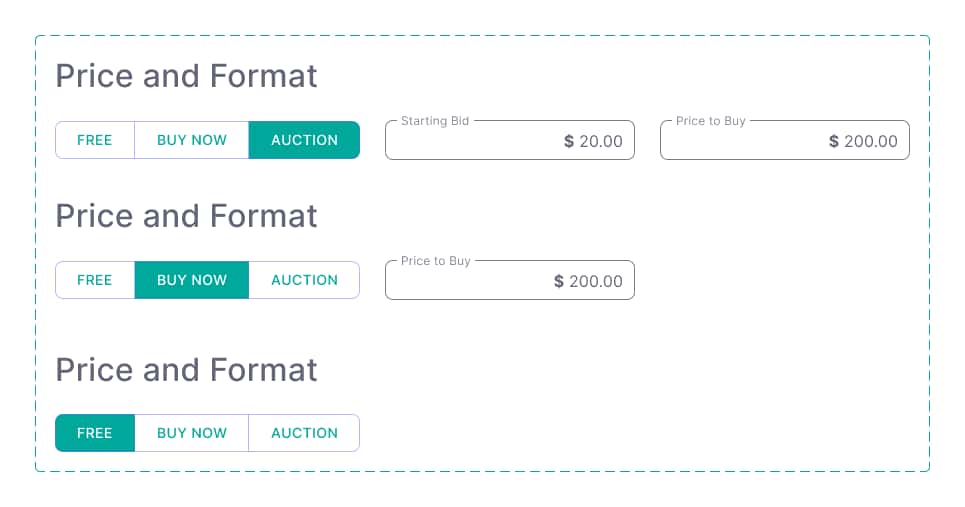
5/8 Screens
The design originally started as expandable parent/child sections but we decided to shift to card morph system as it was a cleaner way of laying out so many options. With user testing and feedback we were able to arrive at a product design that felt clean and powerful.


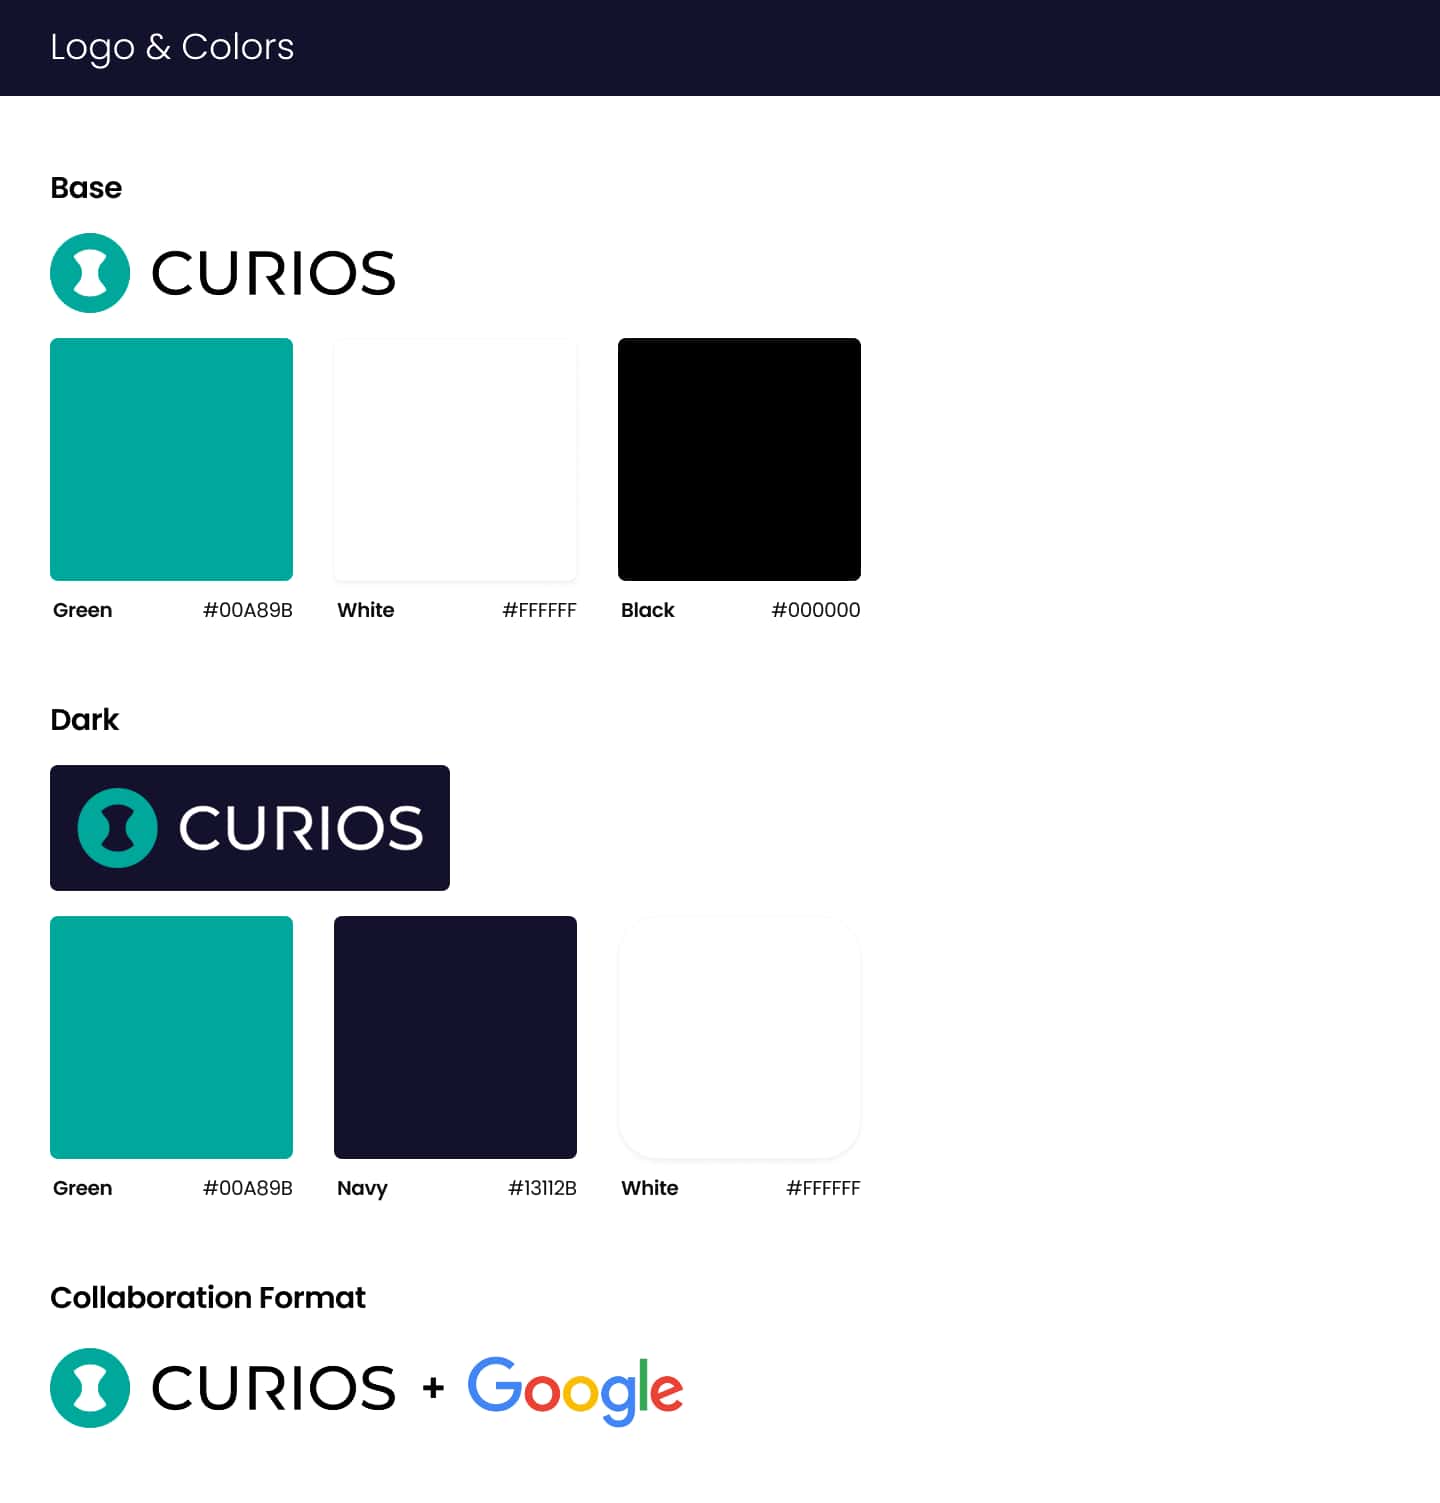
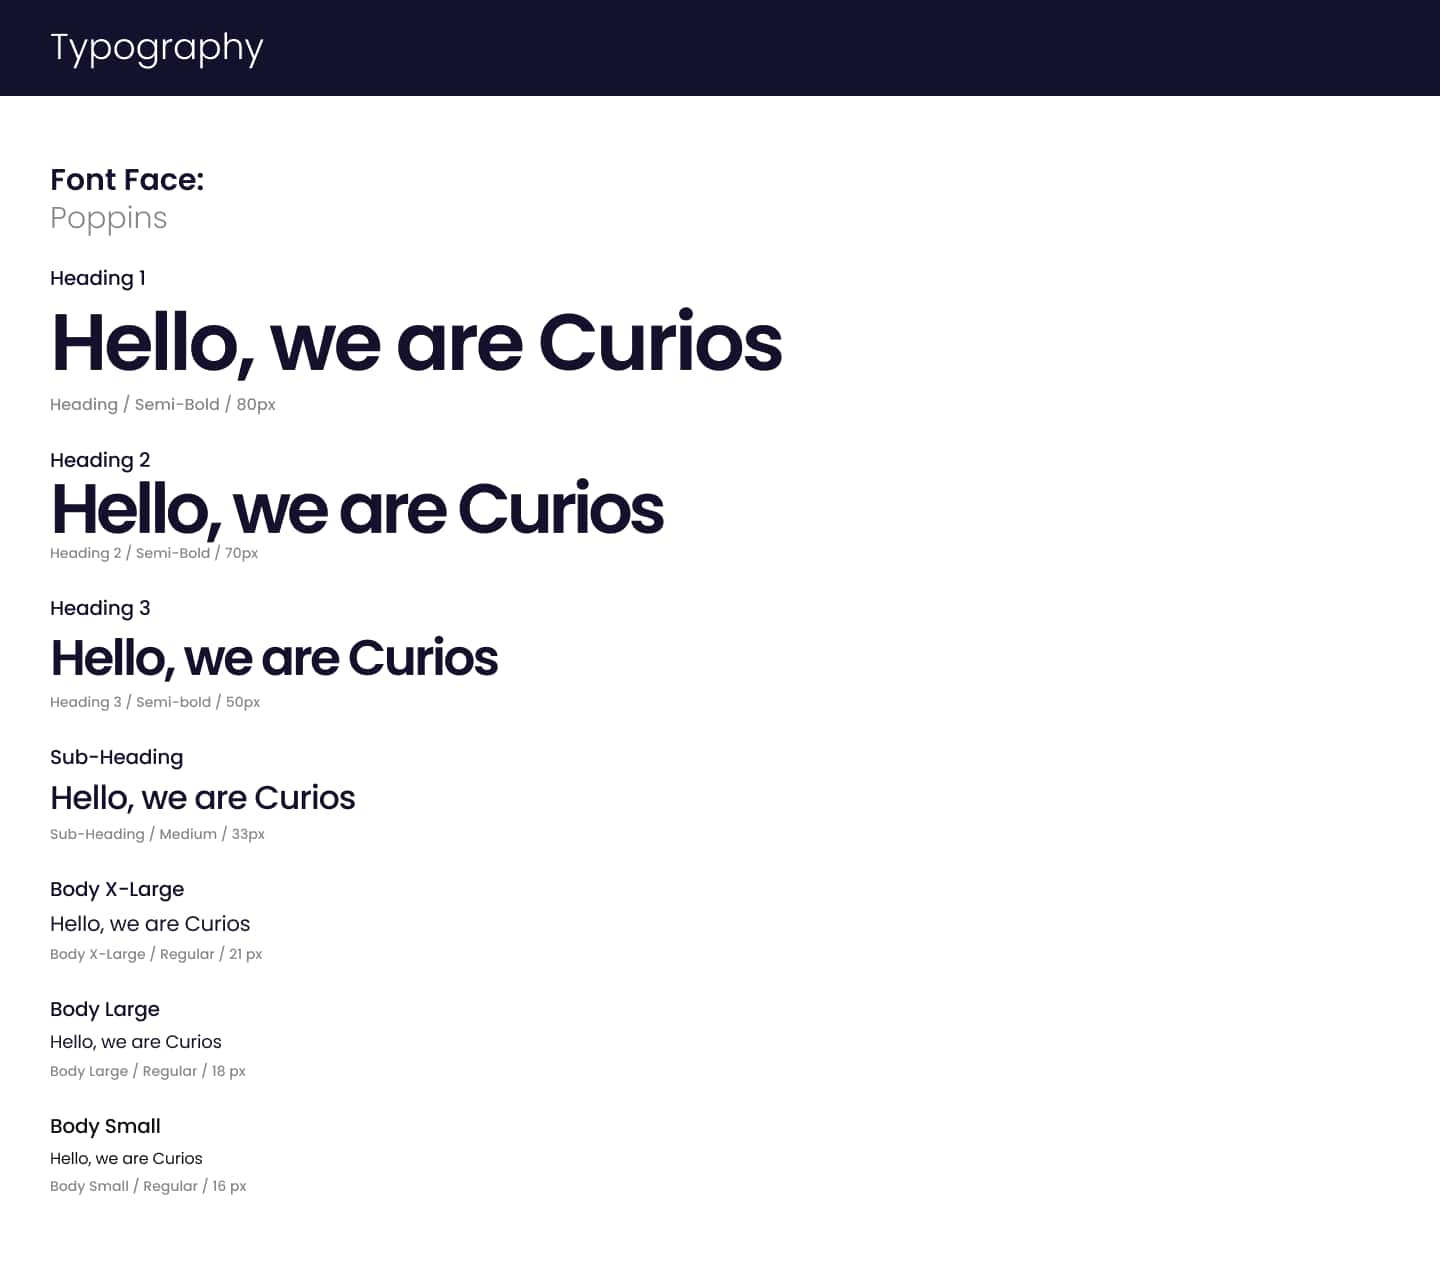
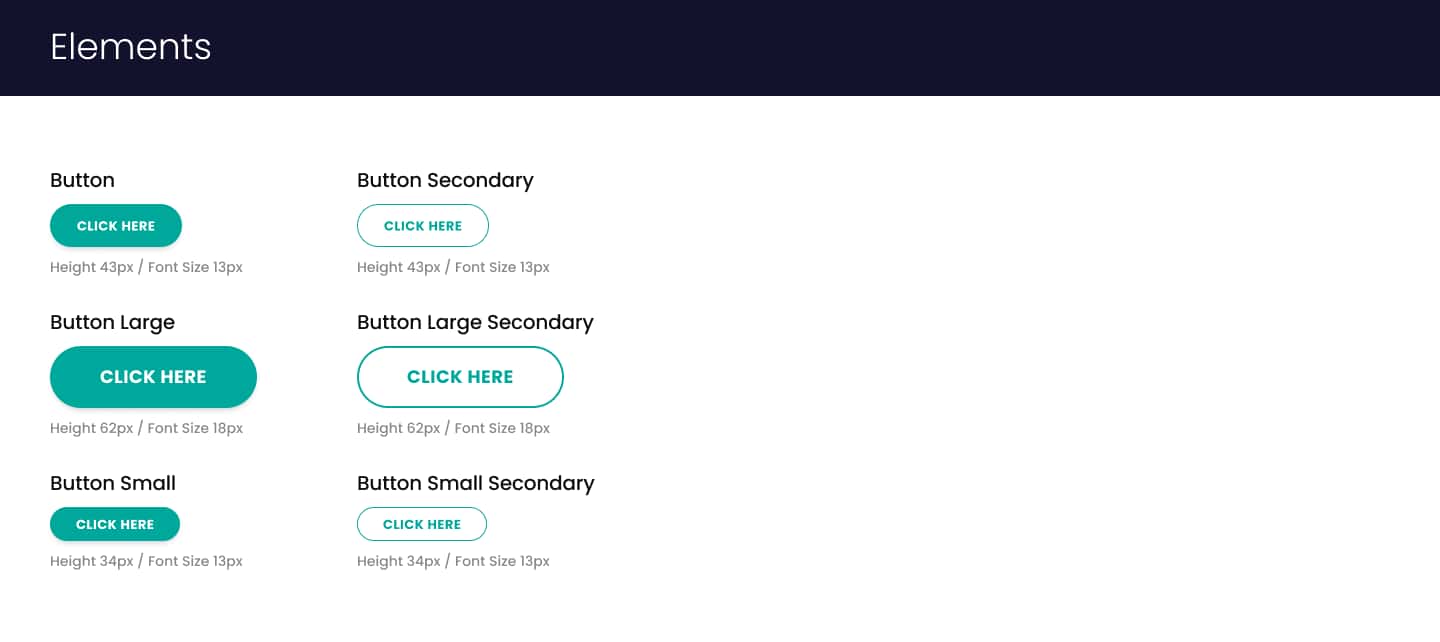
6/8 Design System
The design system for these tools was built by adding to the existing design system used on the consumer facing sites. It added many form elements and larger components.
7/8 Implementation & Collaboration
Our working team consisted of myself as the sole designer and two software engineers. As designer comfortable with front end development, I was able to create something with dev practicality in mind. As my role often filled gaps in the team, I also worked on all of the front end development for project's the implementation. When the dev load was too heavy, I occasionally worked on the back end on smaller features as well.
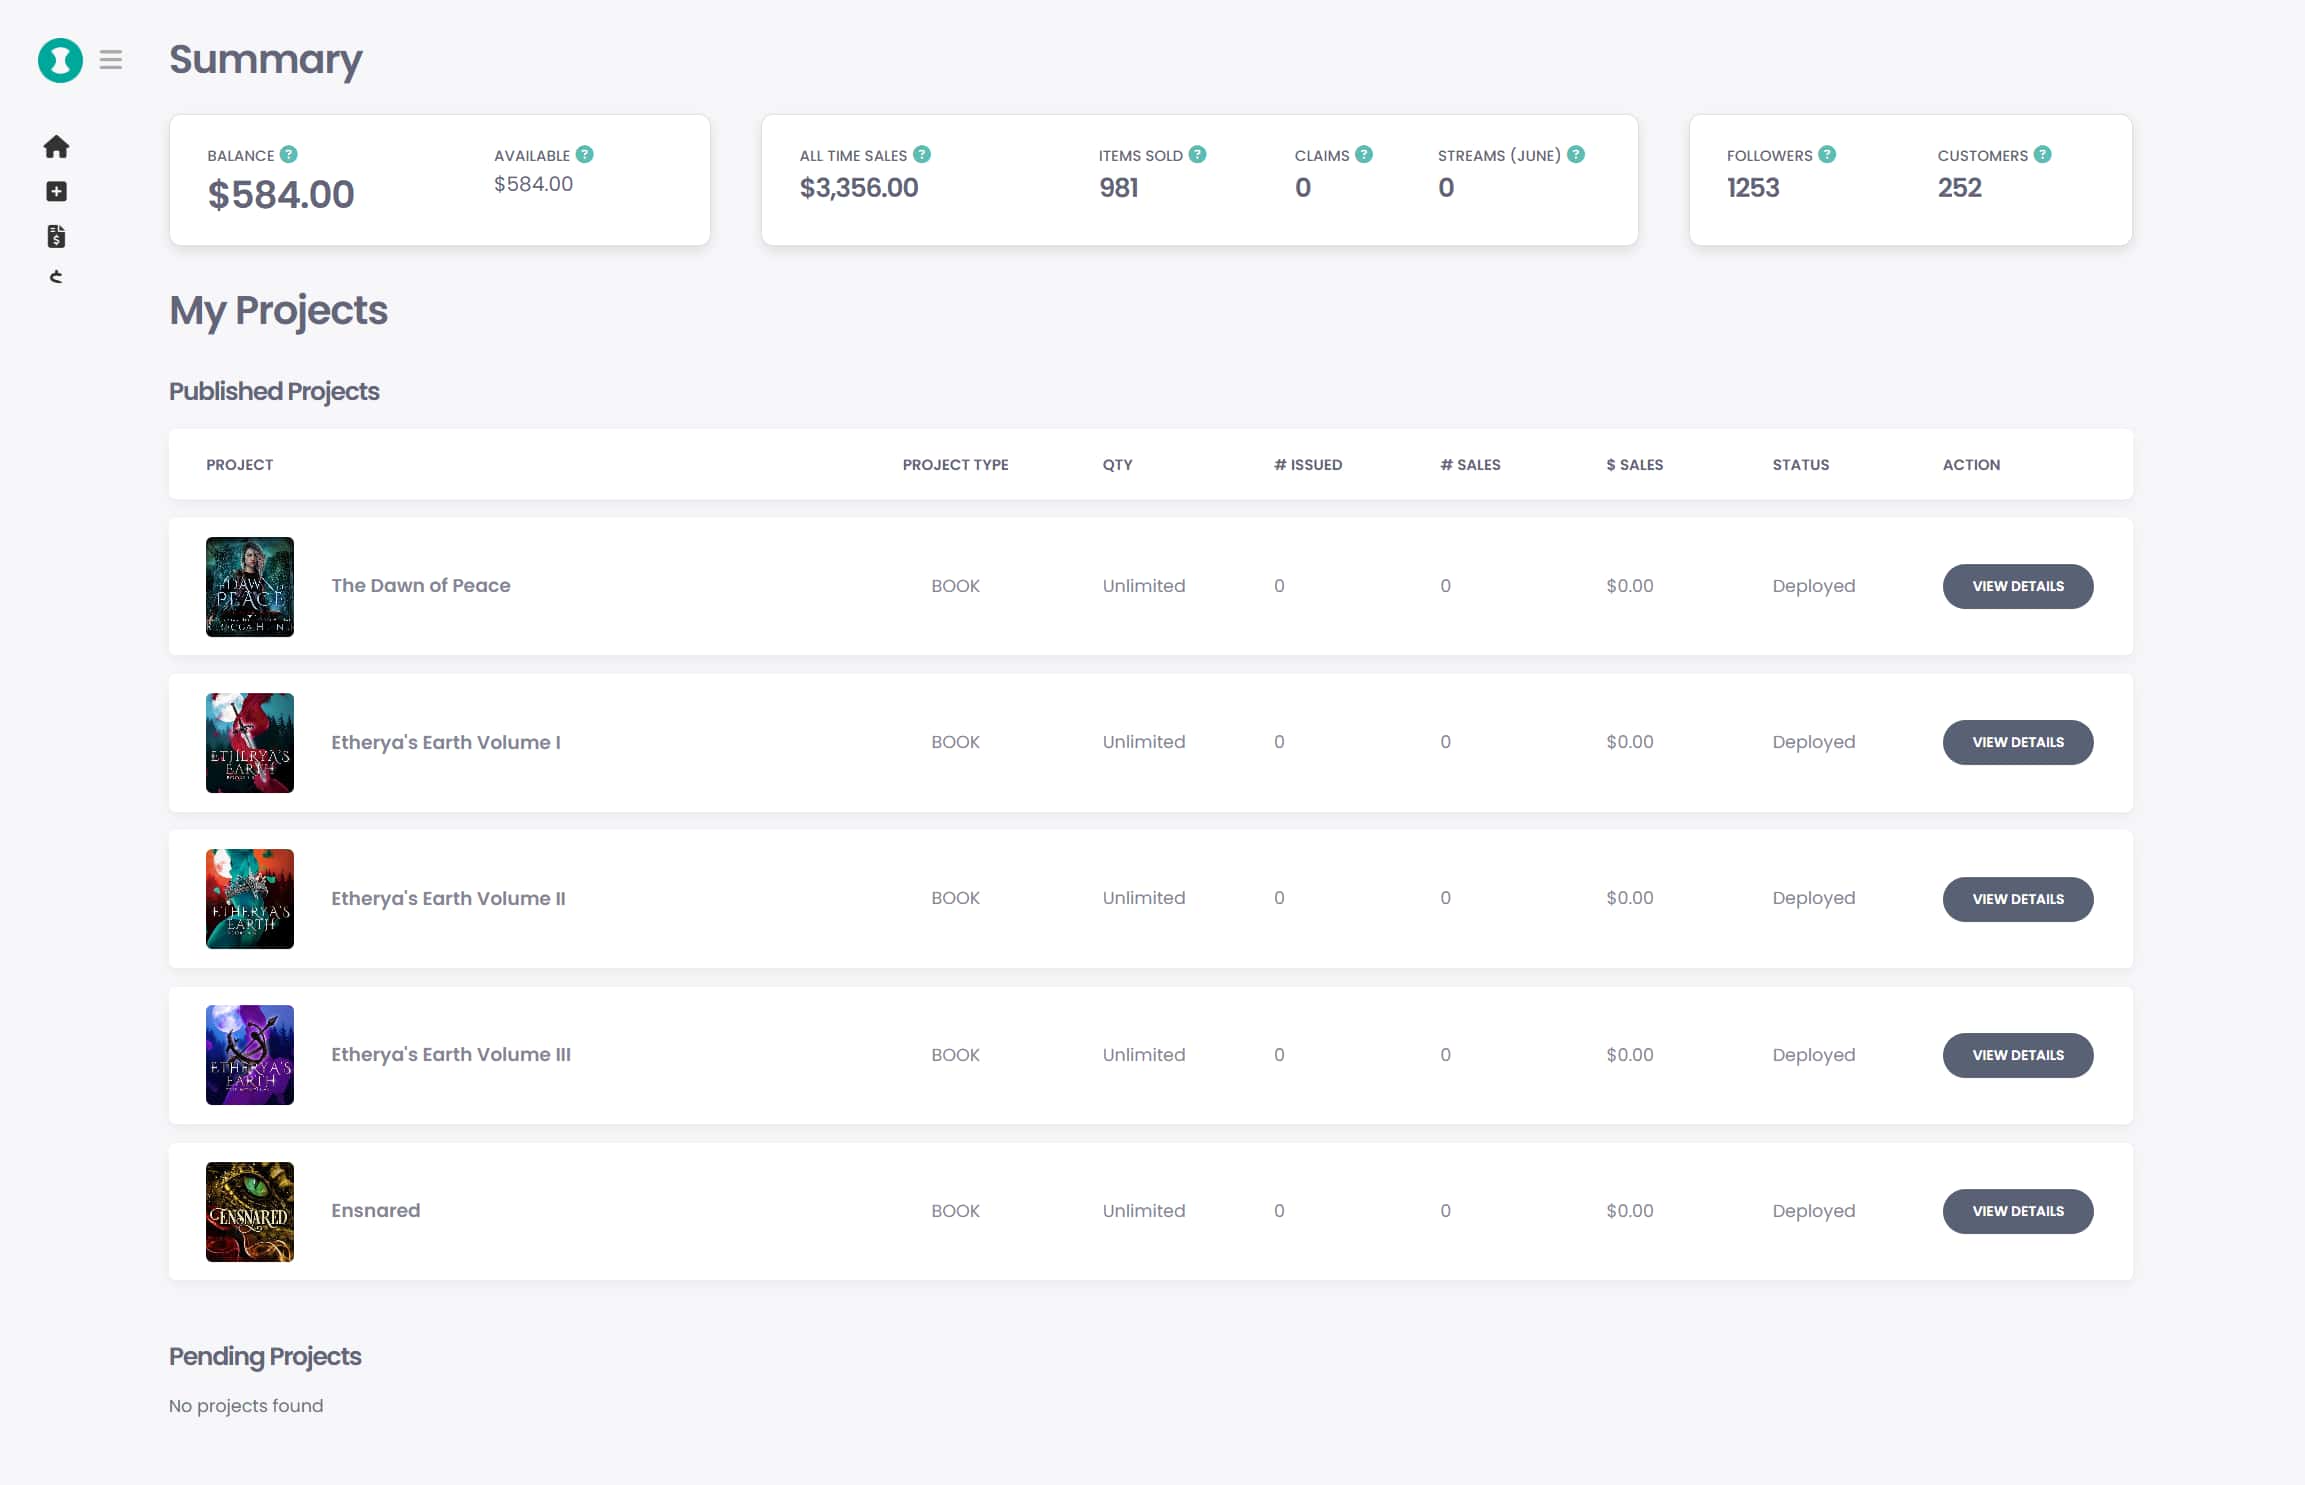
8/8 Outcome
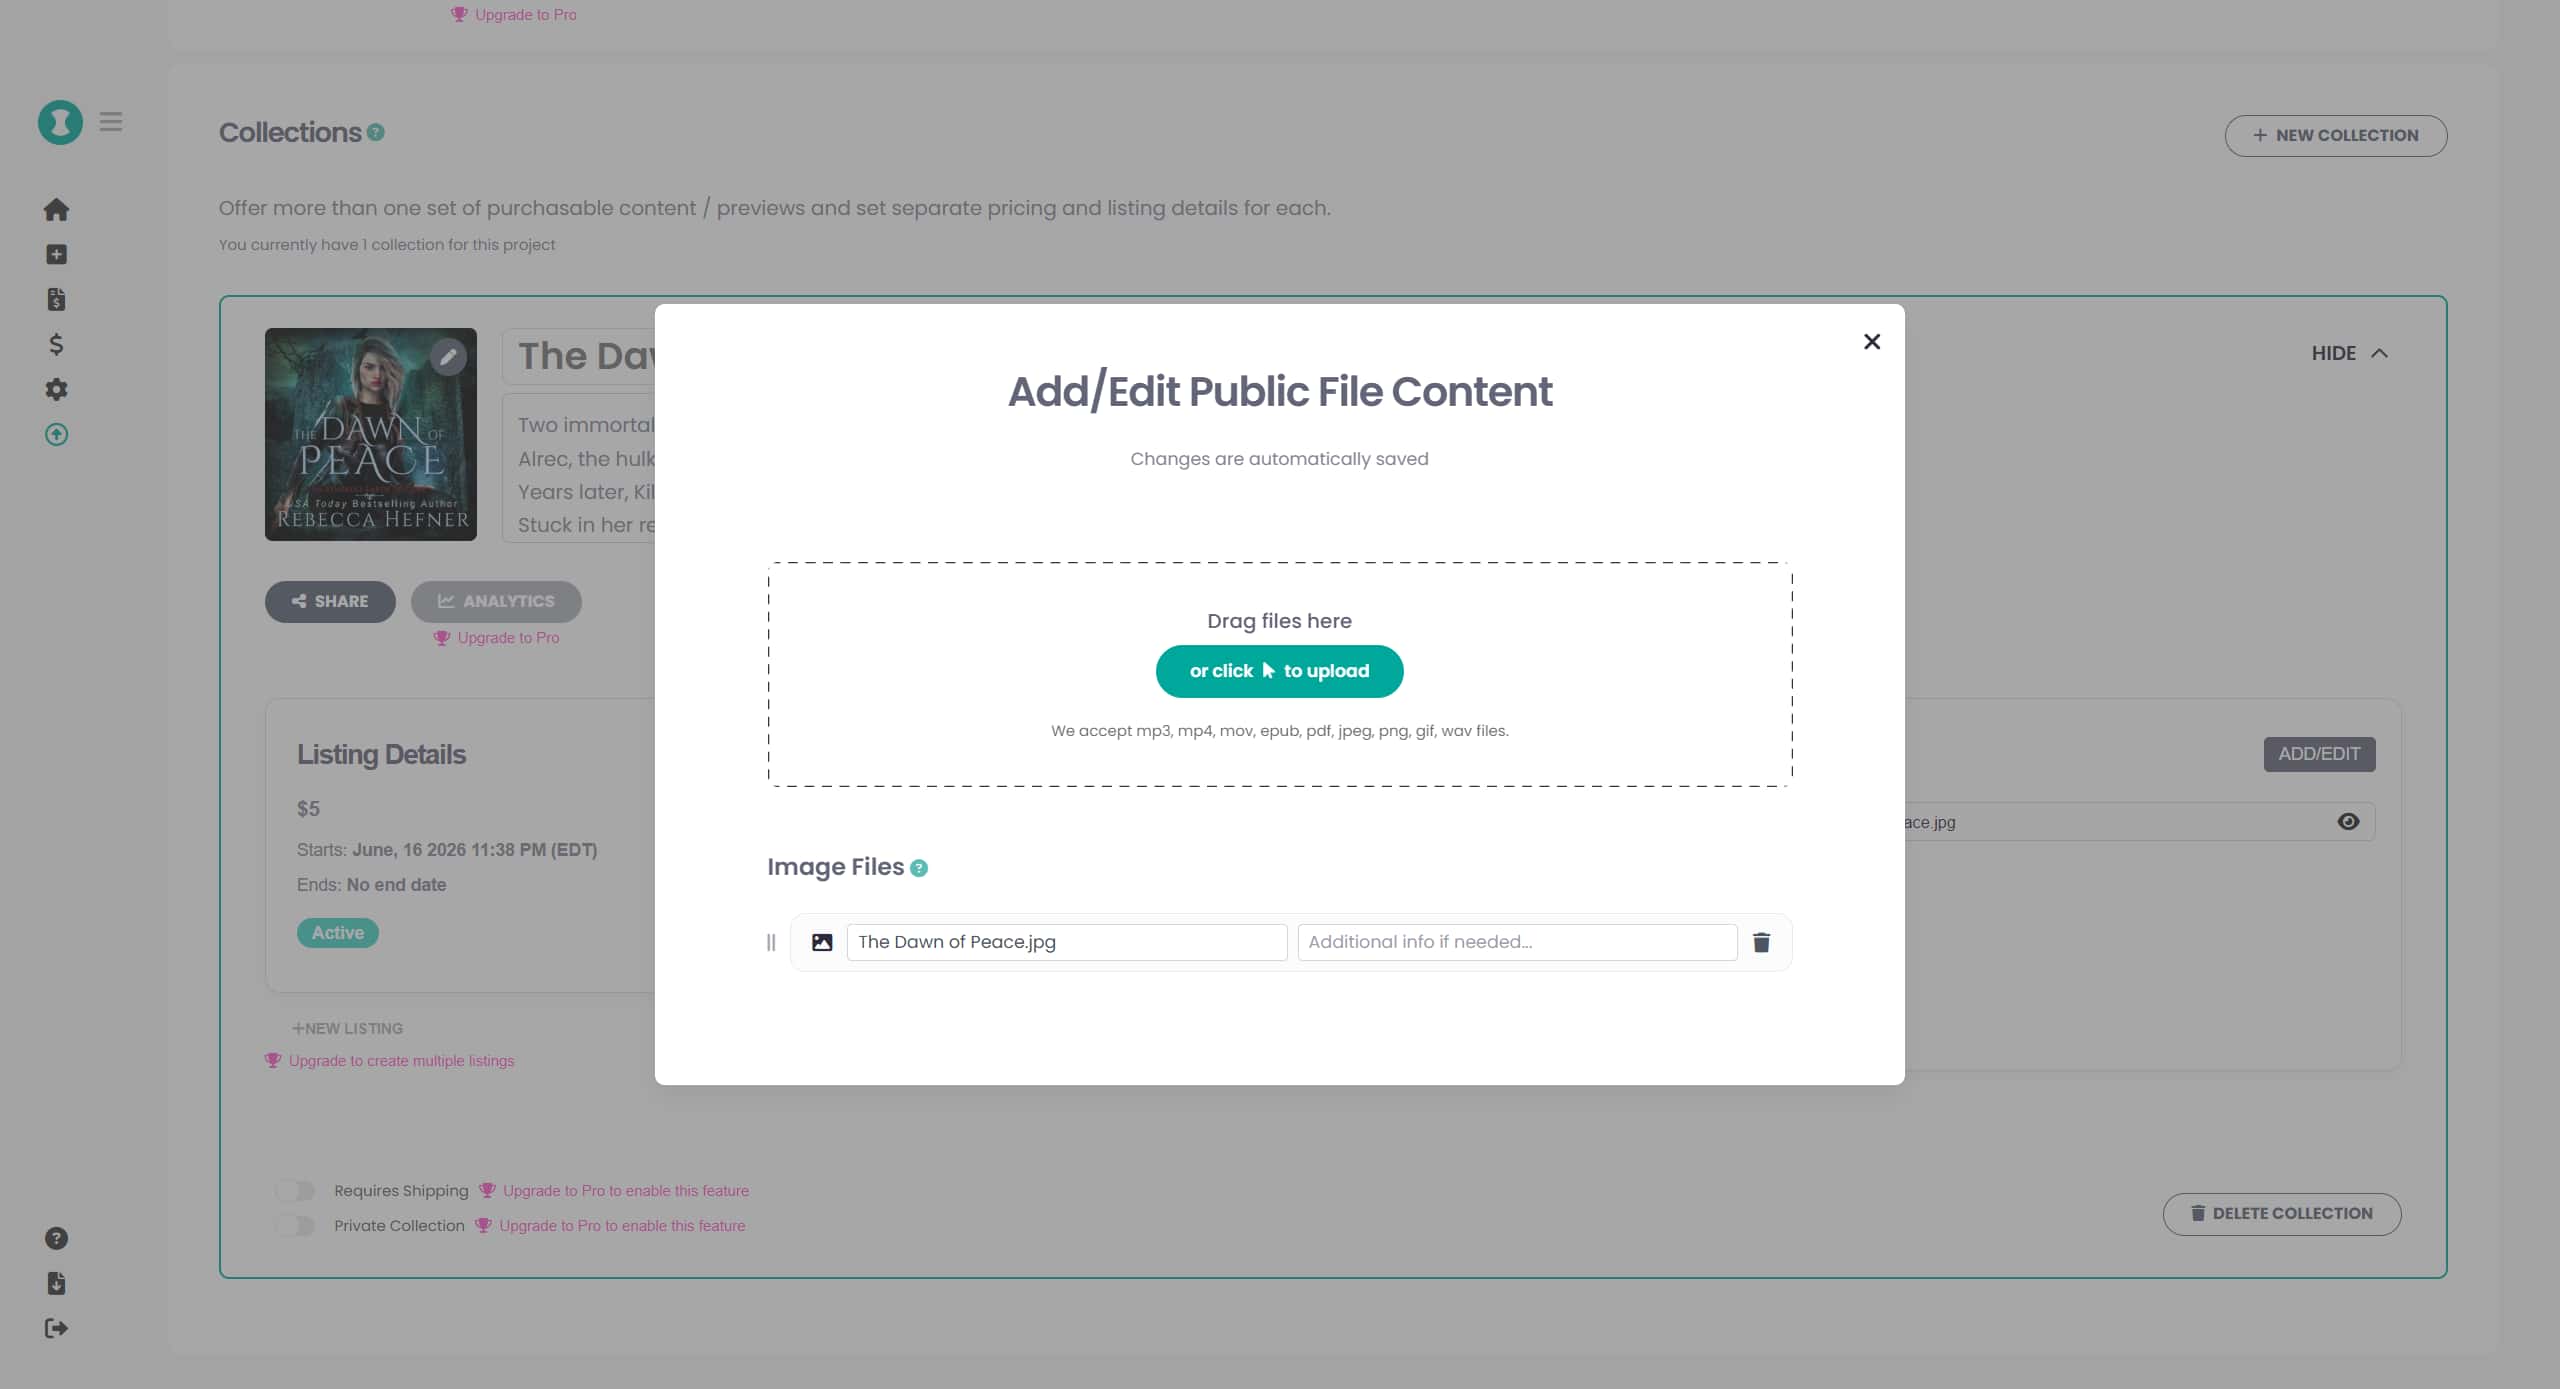
In the first month after launch, independently published listings nearly tripled. New users were able to complete their first project without needing support, while experienced creators leaned on the advanced configuration options to build more complex, multi-part listings. The recurring feedback from creators was that the process felt noticeably smoother than other platforms they had used.
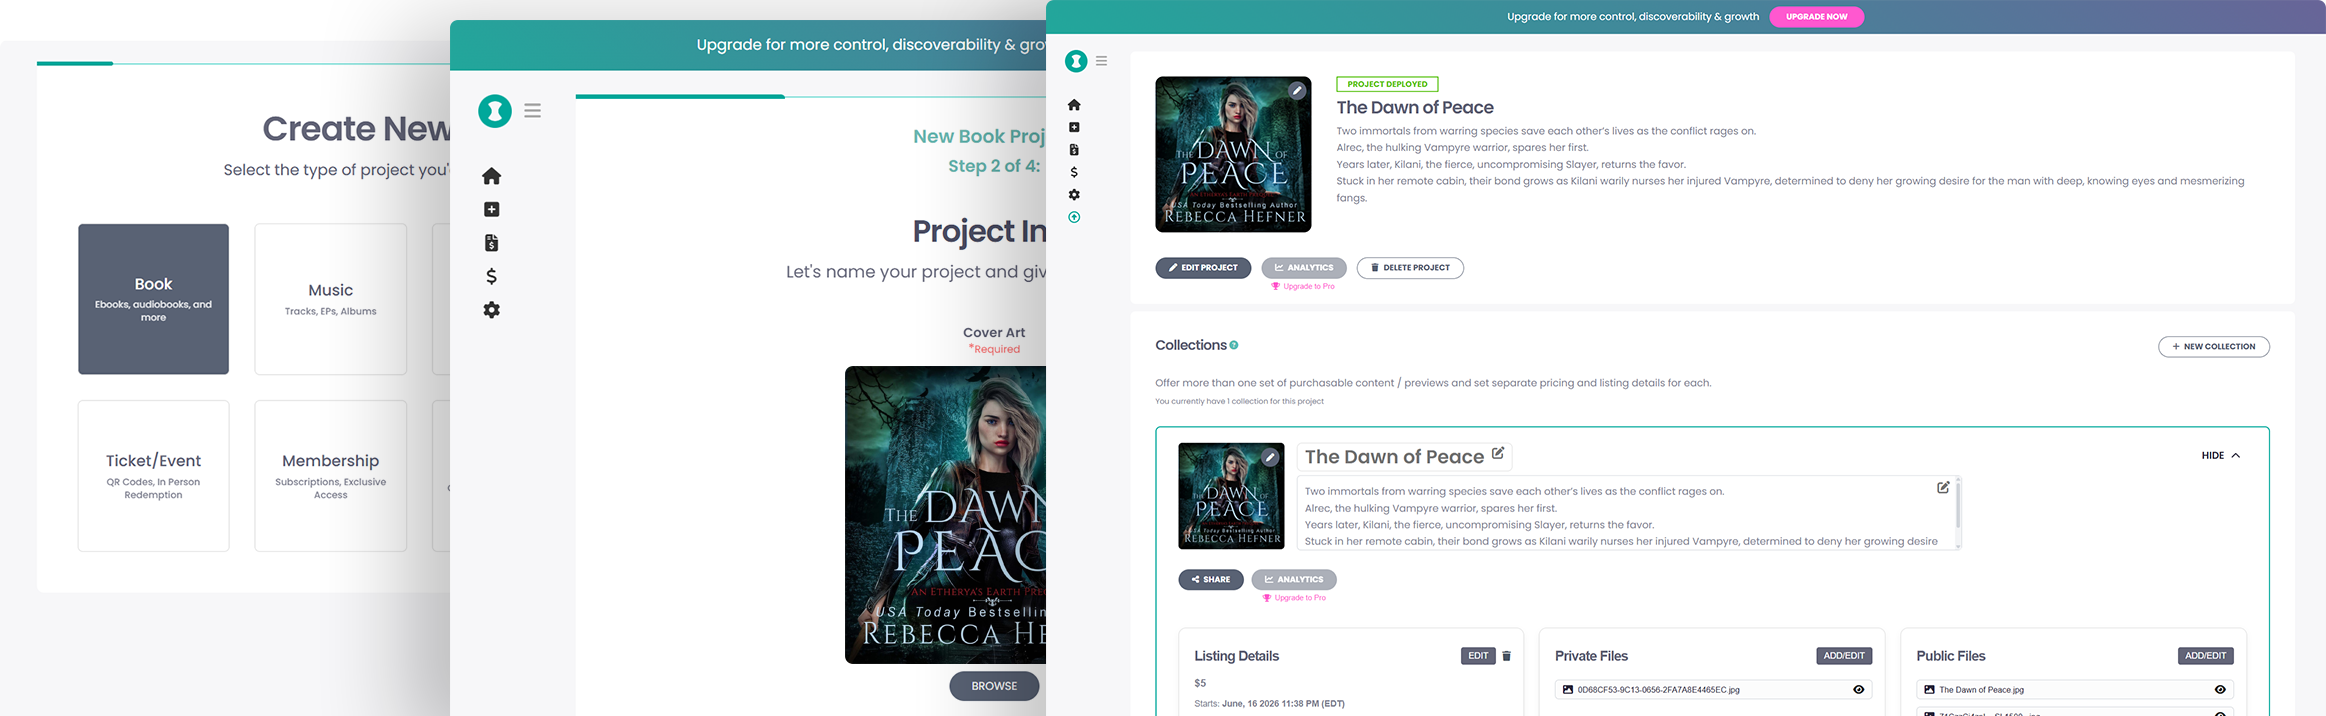
Below is an example of the finished creator tools being used to edit a project and create a second variation.
Here's a demo of some features in action.